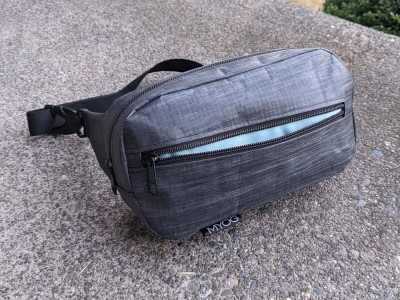
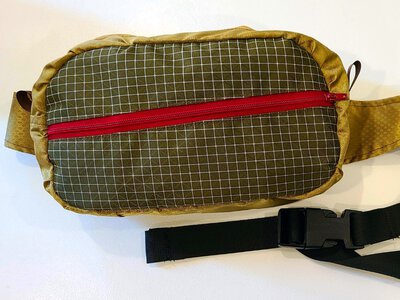
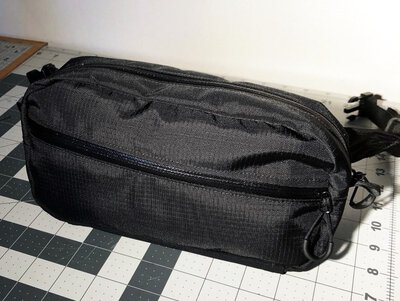
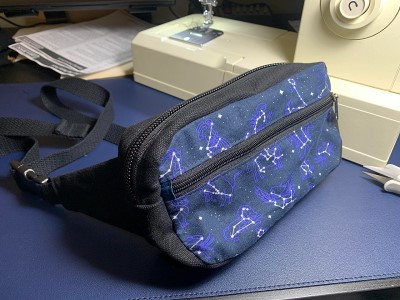
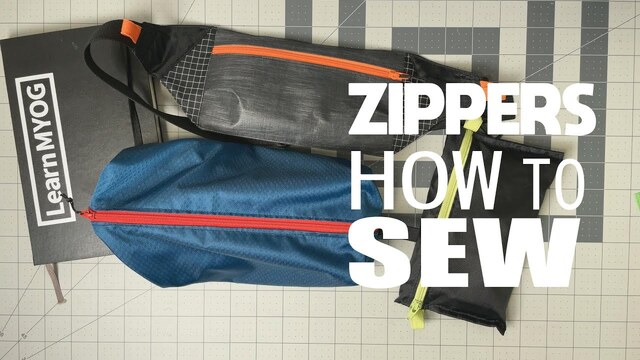
Everyday Fanny Pack

Everyday Series Sewing Pattern

Pattern and Materials

Free Download

Downloadable PDF sewing pattern includes

  • Print at home pattern suitable for both Letter and A4 sized paper
  • Detailed step-by-step sewing instructions accompanied by sewalong video
  • List of recommended materials
$0

Valid email address required for download link

Materials

Learn more about technical fabrics, recommendations, and trusted vendors in our new Fabrics Guide

  • Sturdy body fabric such as Cordura 500d, XPAC VX21, or Waxed Canvas
  • Lightweight lining fabric for inner pockets and liner
  • Optional: fun patterned fabric for front of pack, cotton or stretchy work well
  • 1" webbing and hardware such as adjustable quick release buckle
  • Two zippers, YKK #5 recommended. See Zip Sack Instructions for more information.

Assembly Instructions

Pattern Prep

  1. Download the pattern and prepare per the included instructions.
  2. Read all instructions here and in the pattern before starting.
  3. Trace and carefully cut your fabric panels and transfer the seam marks. Seam allowances are included in pattern.

Gussets and Body

Follow steps 1 - 5 in the pattern instructions.

Wing Panels

Alternative instructions step 6 and 7.

  1. Fold panel along fold line. Wrong sides out, stitch bottom and short edges. Do not stitch edge with seam mark "C".
  2. Flip right side out. Seam rip a small opening for webbing.
  3. Insert the webbing inside wing and box stitch to secure.
  4. Depending on your hardware, now may be the time to install it.
  5. Baste the wing to the back panel. Double check to orient the hardware correctly.
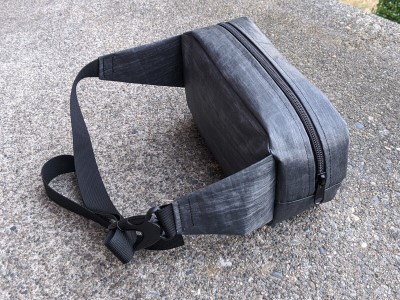
  6. See photo for finished Wing.

Pre-Assembly

  1. Double check your pre-assembled back panel, front pocket, and gusset all match the pattern.
  2. Double check your hardware is on the right side and orientation.
  3. Double check your panels and pockets are oriented correctly in relation to each other.

Assembly

Tips for curves, step 8 and 9

  1. Wrong sides out, pin your panels aligning seam marks, and begin to sew perimeter.
  2. Take your time, sewing tight curves gets easier with patience and practices.
  3. Tip: I find it helpful to start stitching along the top and bottom seam marks so any bunching happens in the corners or along shorter sides.
  4. Tip: Shorten your stitch length around the curves.

Flip and Rip

  1. Flip your fanny pack right side out through the top zipper.
  2. Closely inspect and correct any mistakes or misalignment with a seam ripper. No shame!
  3. Depending on your fabric choices, stop seam fray by edge binding or fuse with a Bic lighter.
  4. Finish off by installing hardware and install cord pulls to silence jingly bits.