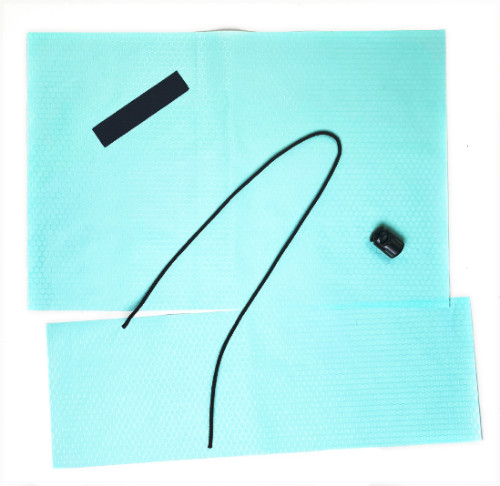
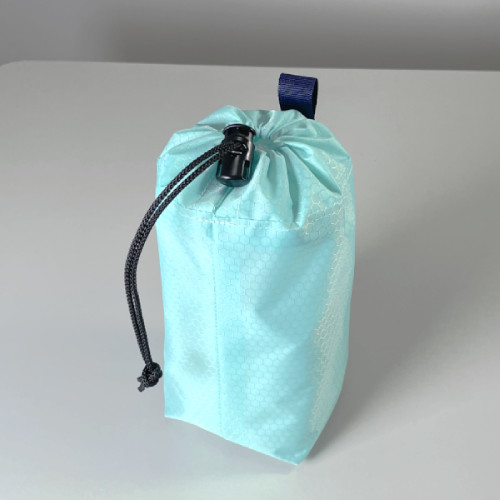
Create custom-sized stuff sacks effortlessly without complex calculations or 3D modeling. Simply input your desired finished 3D stuff sack dimensions, and our generator will calculate precise 2D pattern panels. Say goodbye to fabric waste and guesswork, especially if it's your first MYOG (Make Your Own Gear) project!

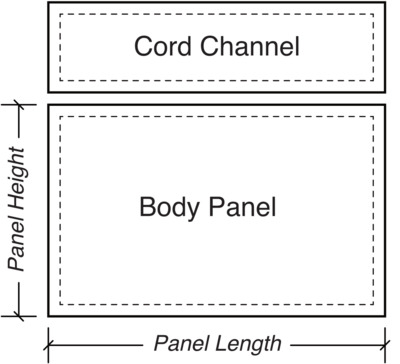
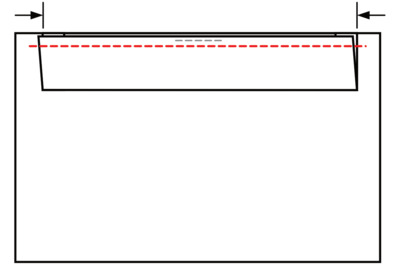
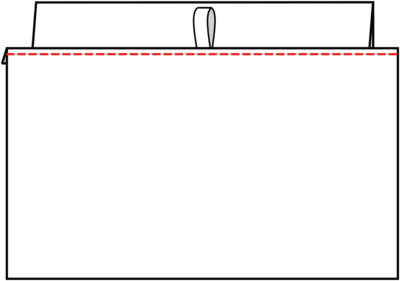
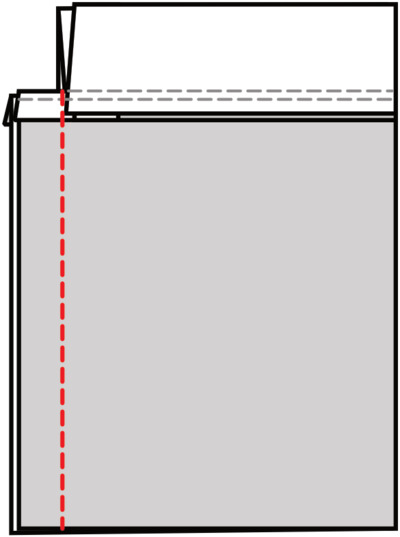
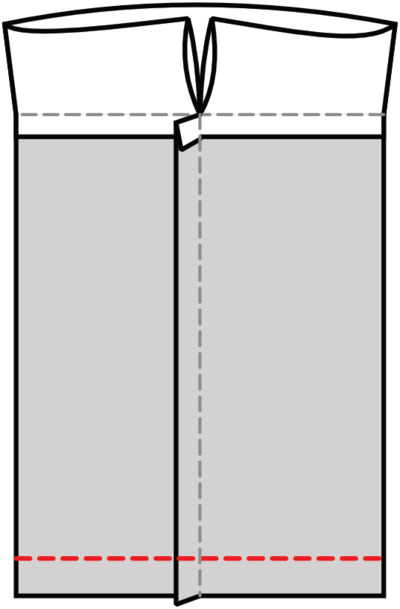
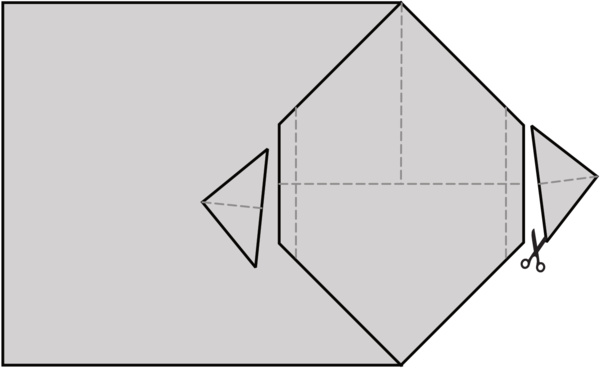
Our provided panel dimensions already include the seam allowances. Additionally, note that the drawstring casing, also known as the cord channel, is consistently 1.5 inches (4cm) tall.
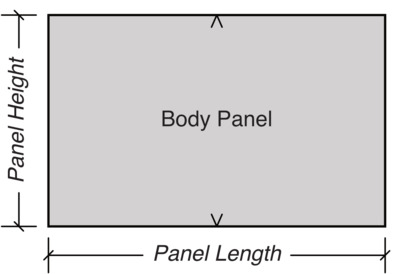
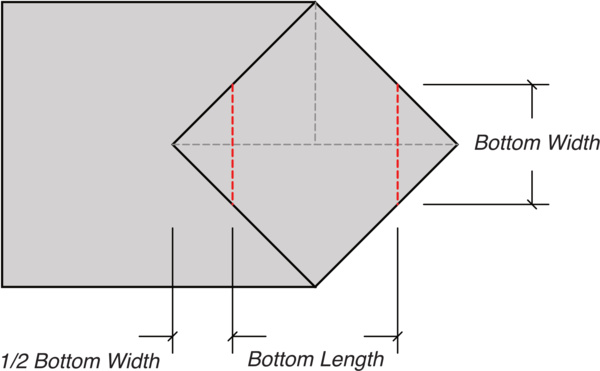
- Body Panel Length:
- Body Panel Height:
- Cord Channel Length:
- Cord Channel Height: