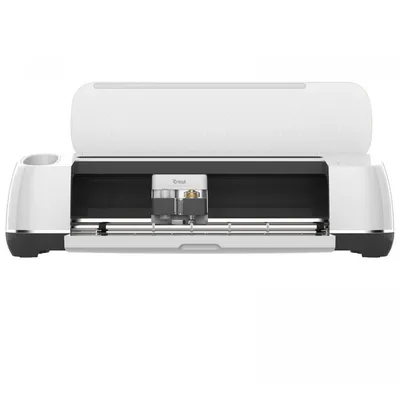
☝️ Still shopping sewing machines? See my recommendations for MYOG Essentials.
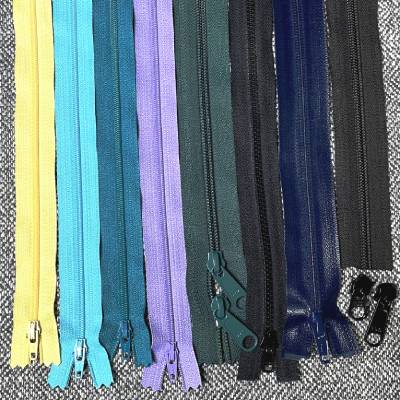
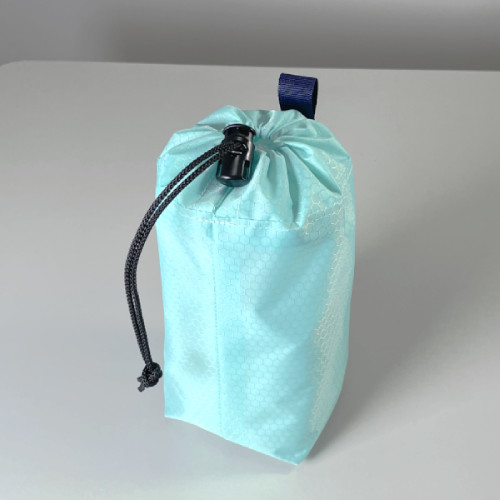 If today is your first day sewing since middle school, I recommend getting started with a Cinch Sack. If you have a small buckle and webbing, a Roll Top Sack follows very similar construction steps.
Hop over to the pattern generator and input dimensions to get a pattern that fits your fabric.
If today is your first day sewing since middle school, I recommend getting started with a Cinch Sack. If you have a small buckle and webbing, a Roll Top Sack follows very similar construction steps.
Hop over to the pattern generator and input dimensions to get a pattern that fits your fabric.
In these first couple projects focus on these core skills:
- Sewing consistent clean stitches without knots or snags
- Accurately sewing to stated seam allowances
- Guiding technical fabrics through the machine for straight seams
- Squaring up edges for a symmetric and nice finish
Hint: if using the $10 DIY Kit, a cinch sack measuring 8" x 6.5" x 8" tall will fit the 18" x 30" fabric without cutting.
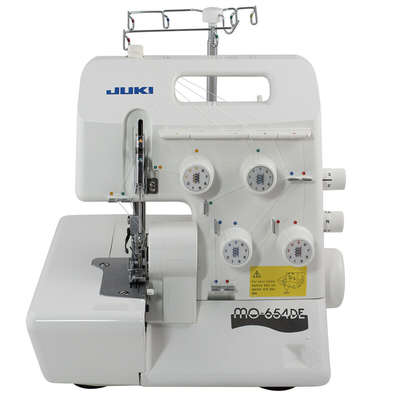
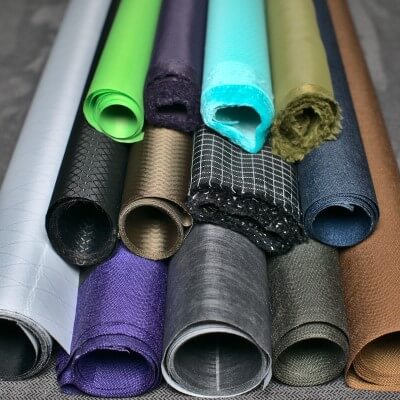
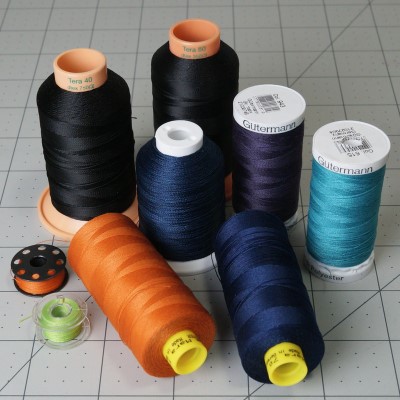
Which machine... which needles... what else?!
Here's the essentials with recommended sewing machines, needle & thread combinations, and all the tools to build out your maker kit.
MYOG Essentials